背景
如果公司已你的项目配置为使用两 (2) 层变更通知单结构,变更事件流程要求你创建潜在变更通知单。然后,你将从主合同工具创建 PCCO。当创建 PCO 时,分项价格表 (SOV) 将填充最新价格值。
需要考虑的事项
- 所需用户权限:
- 项目变更事件工具的“标准”级别权限或更高级别权限。
和
- 项目主合同工具的“标准”级别权限且必须启用主合同工具的“允许标准级别用户创建潜在变更通知单”配置设置。请参阅配置设置:主合同。
- 其他信息:
- 根据为主合同工具配置的变更通知单层配置设置,潜在变更通知单可以转换为以下项中的一 (1) 个:
步骤
- 导航到项目的变更事件工具。
- 在表中,勾选一 (1) 个或多个变更事件明细项的复选框,以包含在新的潜在变更通知单中。
注意
Procore 可以使用选定的变更事件明细项创建潜在变更通知单的分项价格表 (SOV)。
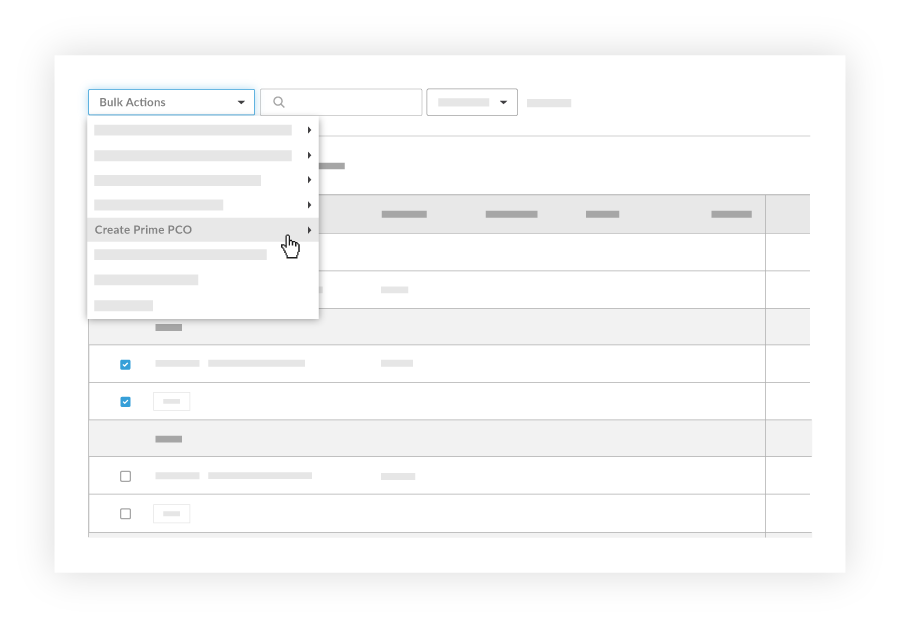
- 点击批量操作菜单并选择创建主 PCO选项。然后,从子菜单中选择合适的合约选项。
- 在“新潜在变更通知单”页面中,完成以下数据输入:
-
Tip
How do you collect signatures with DocuSign? After the data entry for the item is complete, Procore recommends changing the item's status to 'Out for Signature' before clicking the
Complete with DocuSign button to launch the DocuSign® application. If you have not previously signed in, you will be prompted to
Log In to DocuSign®. Once you are signed in, you can prepare the DocuSign
® envelope for signatures. After the signature process is complete, Procore automatically changes the status of the item to 'Approved' and marks the item as 'Executed'. To learn more, see
DocuSign®.
-
#
Accept the default number, enter a new number, or create a custom numbering scheme for this change order and future ones.
Notes
- Procore automatically assigns the item a new number in sequential order. For example; 001, 002, 003, and so on.
- To use a custom numbering scheme, enter any set of alphanumeric characters. Procore automatically assigns new numbers in sequential order using your custom scheme.
-
Date Created. Shows the date the change order was created.
-
Revision
If you revise a change order later, you can enter the revision number here.
-
Contract Company
Shows the name of the contract company selected in the contract.
-
Contract
Automatically includes a link to the contract associated with this change order.
-
Title
Enter a descriptive name here.
-
-
Prime Contract Change Order
Choose one (1) of these option buttons:
- None. You can update this selection at a later time.
- Add to Existing. Choose this option to link the new potential change order to an existing change order.
- Create New. Choose this option to link the new potential change order to a new change order.
-
Change Reason. This field automatically populates the change reason from the selected change event However, you can update the reason for the potential change order as needed by selecting one from the list. Selections include Client Request, Design Development, Allowance, Existing Condition, Backcharge, or any customized options added to Procore by your company's Procore Administrator.
-
Private
Mark this checkbox if you want the item to be private. This means it is only visible to users with 'Admin' level permissions on the contract (or funding).
-
Description
Enter a more detailed description of the change order.
-
Executed
Mark this checkbox after the change order is fully executed.
-
Signed Change Order Received Date
This field is blank on a new change order. After the signed change order is received, select the date from the calendar control.
-
Request Received From
Select the appropriate project user from the drop-down list.
-
Location. Select a multi-tiered location from this list. If your Project Administrator has enabled the multi-tiered location functionality on the project, you may also be able to create a new location to add the master list of project locations. To learn more, see How do I add a multi-tiered location to an item?
-
Schedule Impact
If this change order is expected to impact the construction project's schedule, enter the estimated number of additional days this would add to the schedule.
-
Field Change
Mark this check the checkbox if the potential change order is the result of a field change.
-
Reference
Add any details about the potential change order in this field.
-
Paid in Full
Mark this check box if you have received payment for this change.
-
Attachments
Add any relevant document or image as a file attachment. You can attach multiple files using these methods:
- Click Attach File(s) and select the files to add from your computer or another Procore tool.
OR
- Use a drag-and-drop operation on your computer to add the file attachments to Procore.
注意
如果报价请求 (RFQ) 功能已打开,则可以配置变更事件工具以包含添加到审核人的 RFQ 答复中的任何附件。有关说明,请参阅
配置设置:变更事件。
- 点击 创建。
注意
- 仅当你公司的 Procore 账户与集成 ERP 系统集成并且项目激活了主合同工具时,关联明细项下拉列表才会出现。
- 将明细项添加到变更通知单的分项价格表时,必须为每个新明细项选择一个关联的明细项。可以指定一(1)个关联的明细项,也可以为多个明细项使用同一个关联的明细项。 选择创建要关联的新明细项将自动在合同的原始分项价格表上创建一个新的零(0)美元明细项。
 .
.